Not all platters must be used for serving! Many of our platters have holes in the back so they can be wired to hang on your wall as you would a painting. Wiring platters is really easy and you probably have all the tools you need already in your own home; if you have wire cutters, needle nosed pliers, and wire, you are ready to go! Most any kind of wire will work, and as long as you make sure the nail or screw is secure in the wall, this is the safest and most fool-proof way to hang your artful pottery.

Here’s our Toscana Bees Large Round Ceramic Platter, ready for wiring!
Step 1: What wire to use?
Any wire will do, really. We have a couple of different gauges around here that we use for various projects; some are coated, some are not, and it doesn’t really matter either way. I would normally use this 22 gauge steel wire on a platter of this size (16 inches diameter), but for the purposes of this article I’ve chosen a thicker wire as it’s easier to see in photographs!

22 gauge wire will be just fine for most projects, and it’s easiest to bend!
Step 2: Flip your platter and cut the wire!

Flip your platter over to find the wiring holes; there are two along the top of the “foot” (which looks like the bottom of the foot here, since it’s flipped to face me).
You’ll want to cut a long enough piece that it has plenty of room to wrap around itself, as you’ll see in the following photos. About 6 inches should be enough in most cases, sometimes longer for the larger platters that have bigger spacing between the holes. If you find you’ve cut too much by the time you get to the end, you can always trim any bits that stick out with your wire cutters.
Step 3: Insert the wire.

Bend the wire into a horseshoe shape and insert the wire into the holes (above), making sure to leave enough room to double the wire back over the platter’s foot and twist around itself (below).

Step 4: Come on everybody, let’s do the twist.

Take the ends of the wire and bend it behind itself so that it forms a secure hanger, as shown.
Now is the point where you’re going to want your needle nose pliers, which will help you get a deeper and more precise bend in the wire. Keep twisting the ends of the wire around itself until you get tired of bending or you run out of wire, whatever comes first!
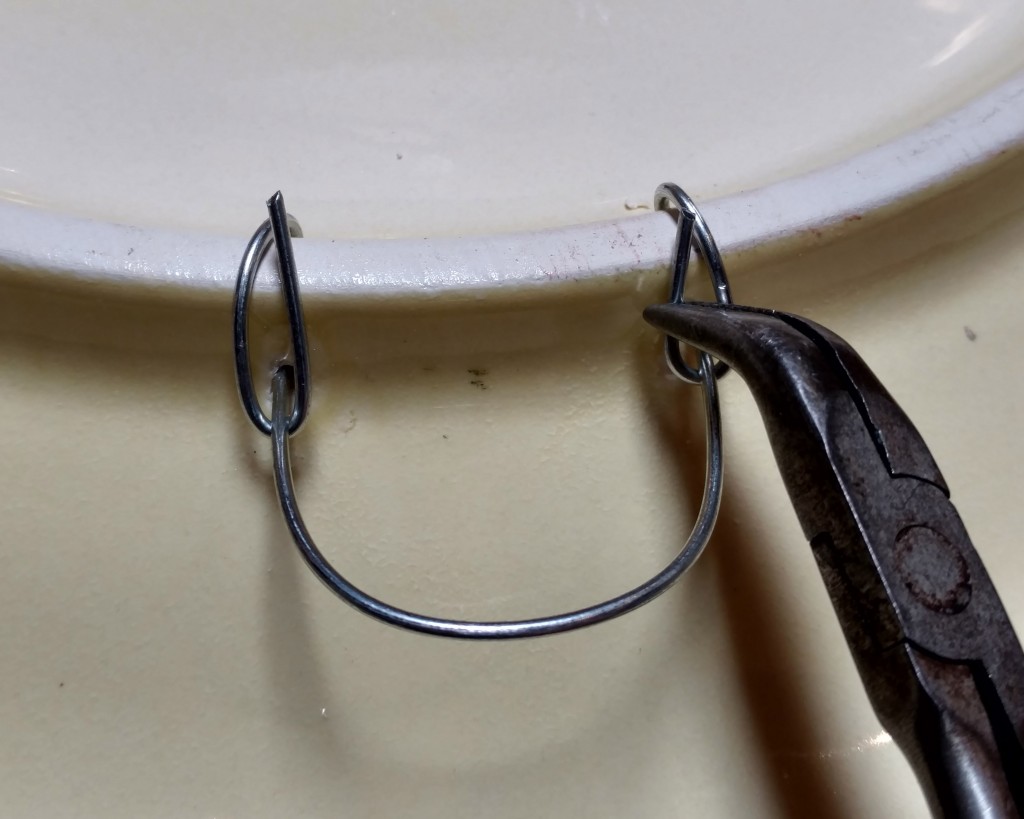

Do the same thing on both sides of the wire, naturally.
Step 5: Voila!
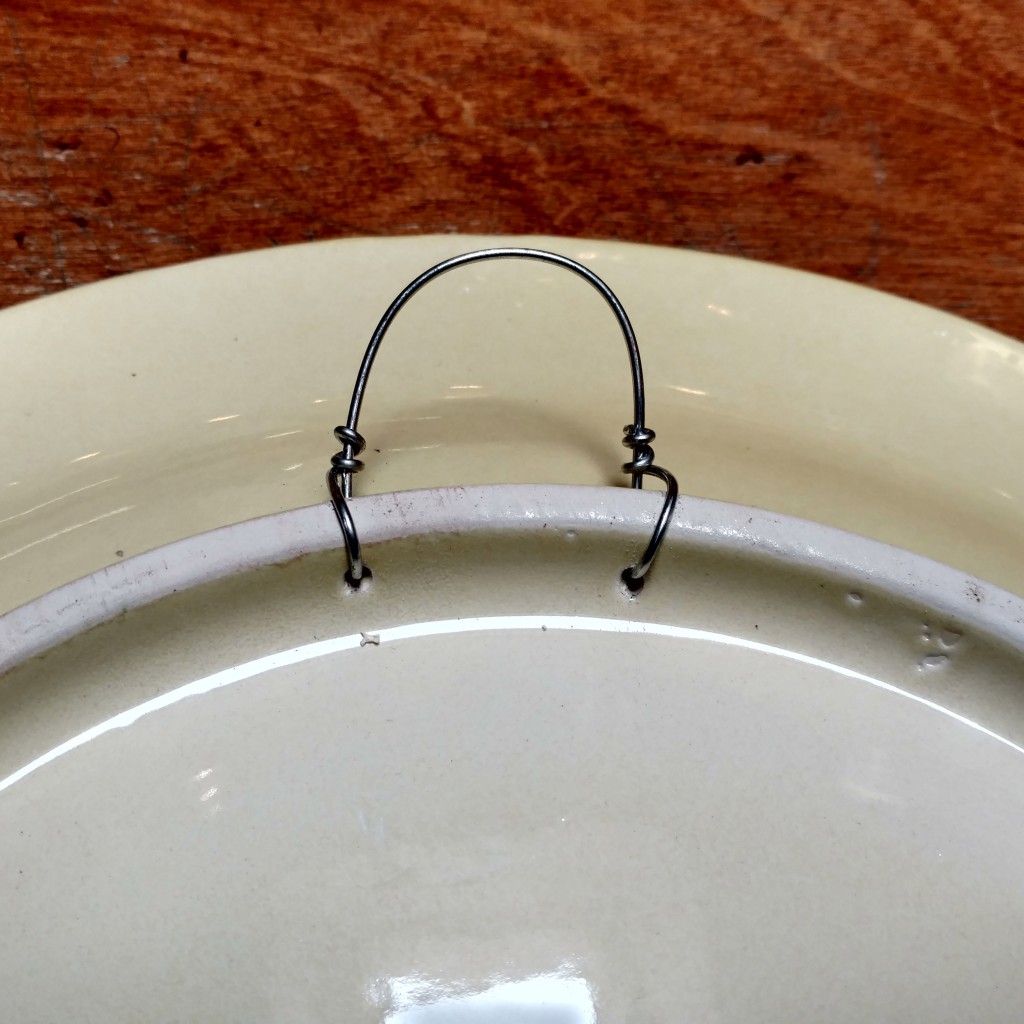
By the time you’re done twisting (and trimming, if necessary) you should have something that looks like this; simple, secure, and ready to hang on your wall! Just make sure that the nail or screw is secure in the wall, and if the platter is especially large, you will definitely want to make sure you’re hanging it on the stud.

Ta-da! Wired, hung, and displayed in all its glory. We love our exposed brick walls!
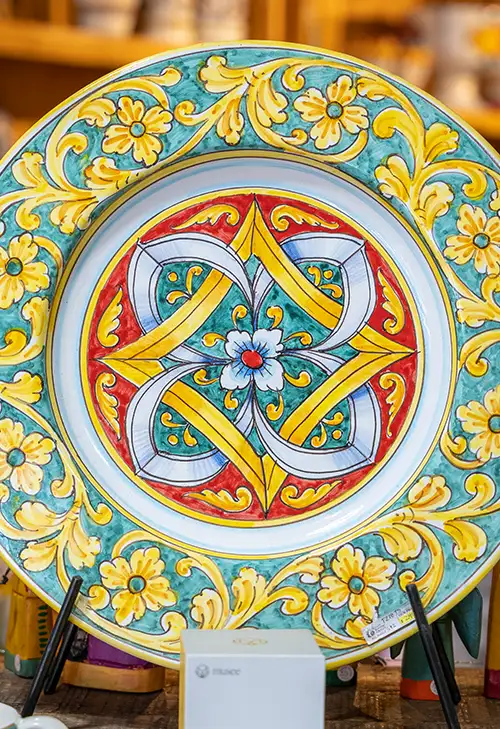
We hope this helps you in all of your home beautification projects! If you’re wondering where to find the beautiful platter in the above photos, it’s from our Toscana Bees collection and you can find it right here.











Leave A Comment
You must be logged in to post a comment.